Convert to Vendor Samples
How to Convert Bulk Harvest or Bulk Concentrate Material to Vendor Samples
Method 1: Conventional Convert
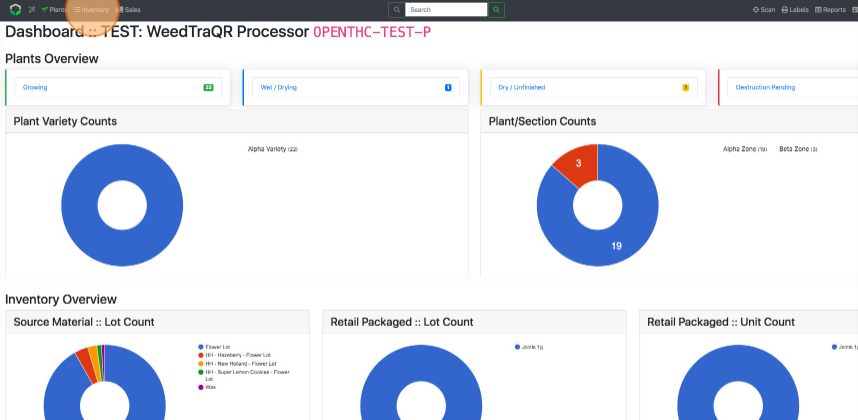
- From the Dashboard select Inventory.
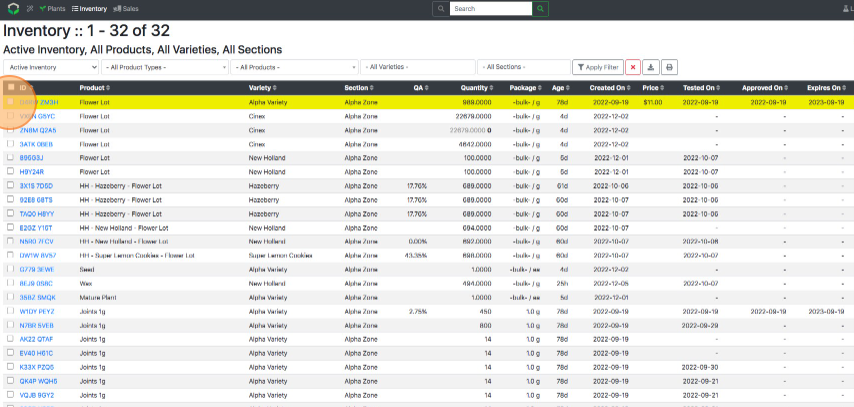
- Use filters such as Product, Variety, Section, and Lab Result Tested to narrow down the active inventory.
- Use filters such as Product, Variety, Section, and Lab Result Tested to narrow down the active inventory.
- Find the Lot ID of the material that will be used to convert to a vendor sample.
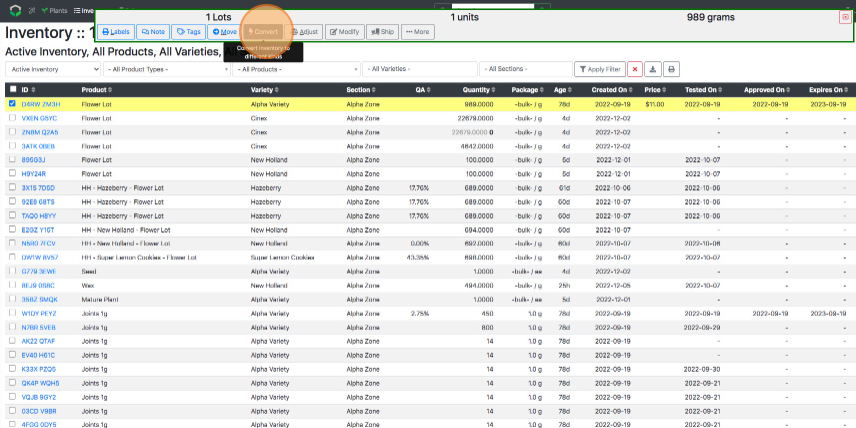
- Select Convert.
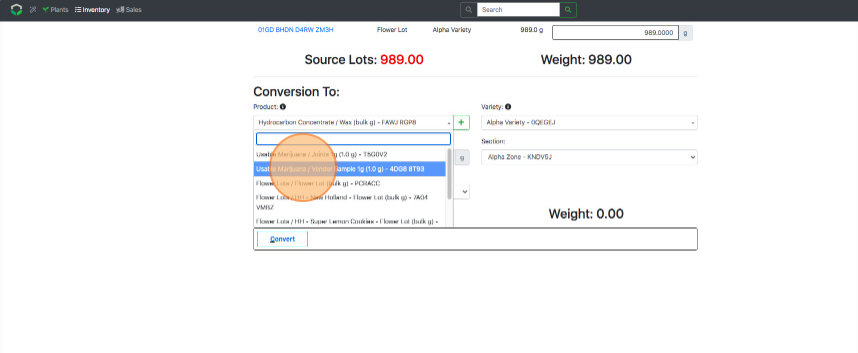
- Pick a product to package the material into.
- If the product does not exist then you can create a new Product using the green + button.
- If the product does not exist then you can create a new Product using the green + button.
- Enter a Bulk Count.
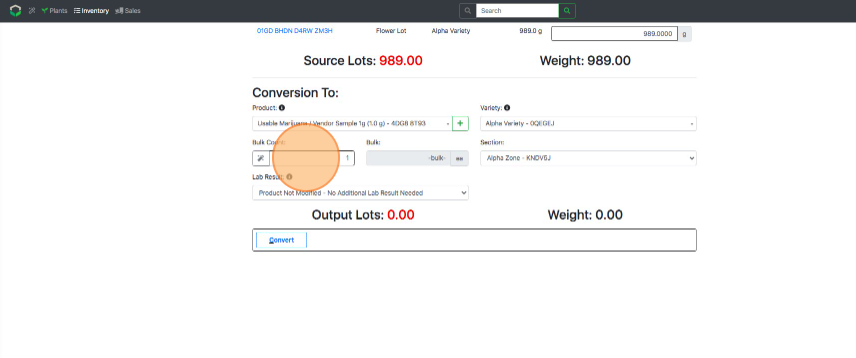
- Fill out the remaining details (Package Count, Variety, Section).
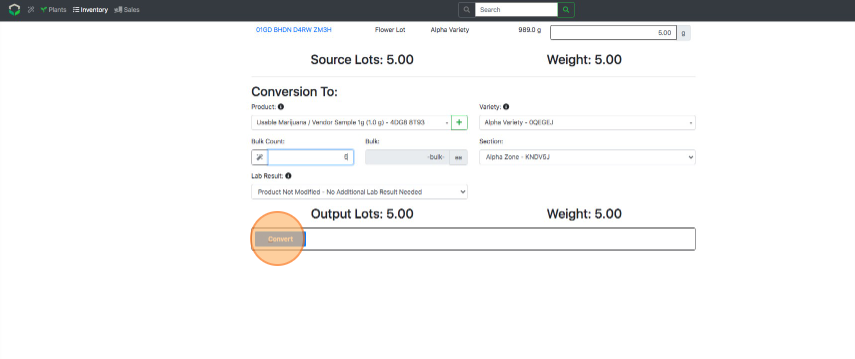
- Select Convert.
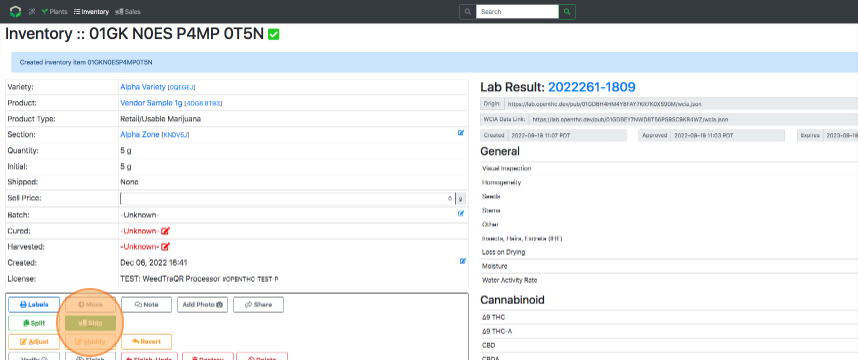
- Add the item/s to a transfer for manifesting purposes.
Method 2: Workflow Convert
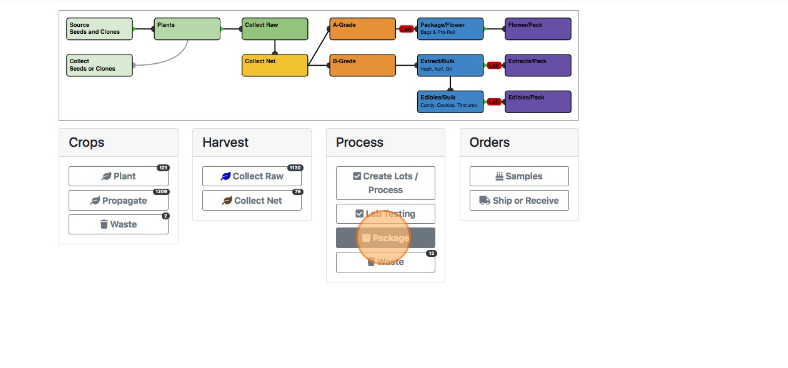
- From the Dashboard select the Workflow (Magic Wand) button.
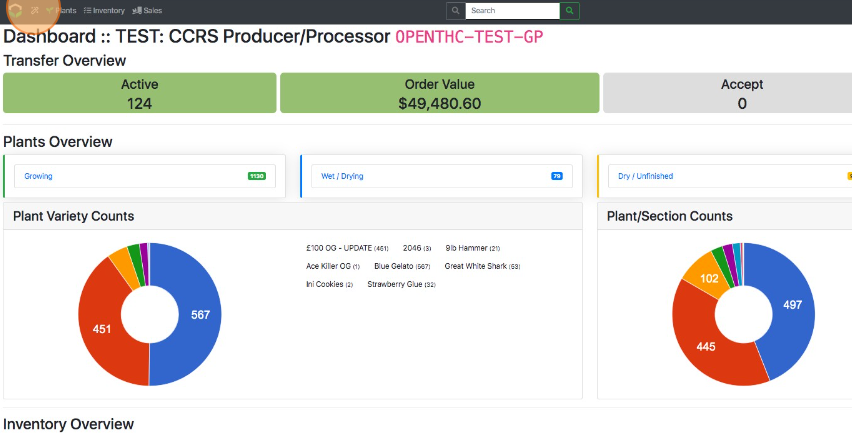
- In the Process column select Package.
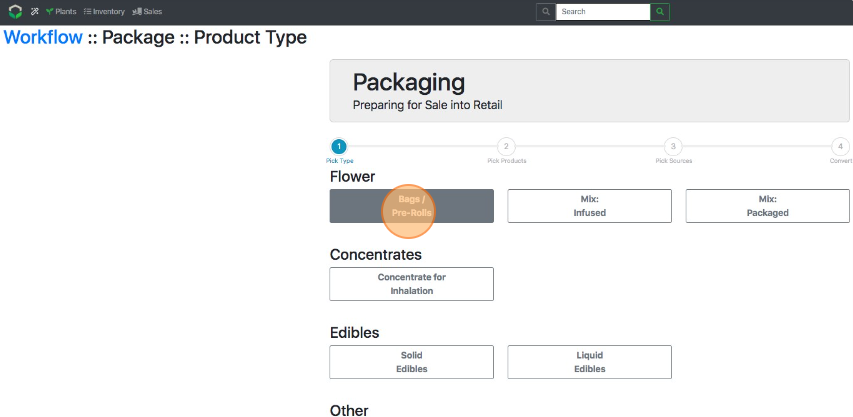
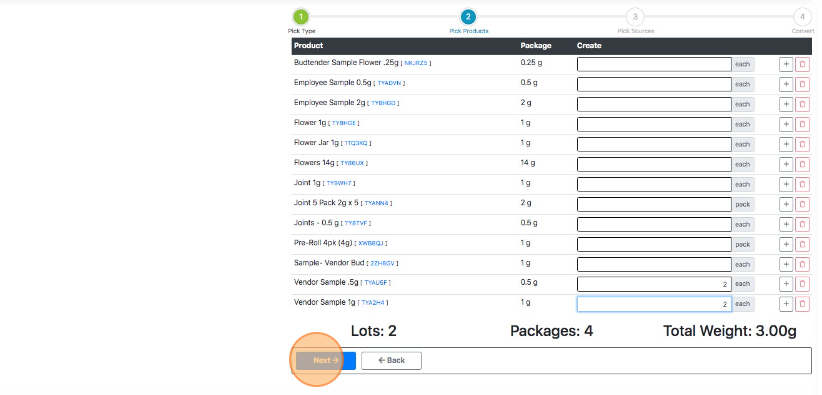
- Select a Product Type.
- Enter a quantity next to each Vendor Sample product being converted.
- Use the grey "+" button to make an additional Lot(s) of that product.
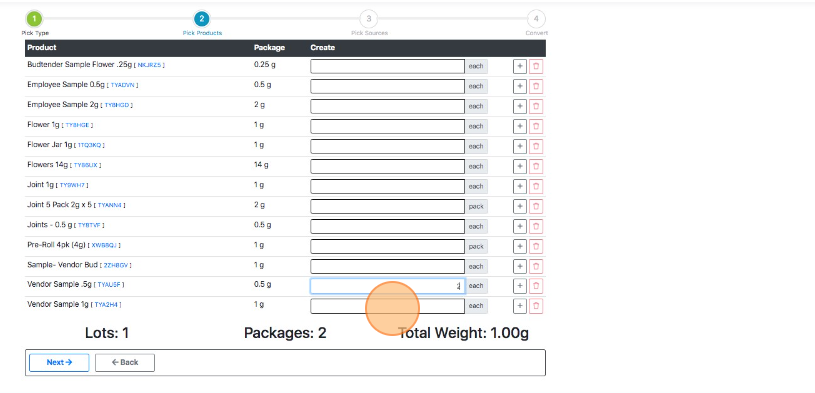
- Use the grey "+" button to make an additional Lot(s) of that product.
- Select Next.
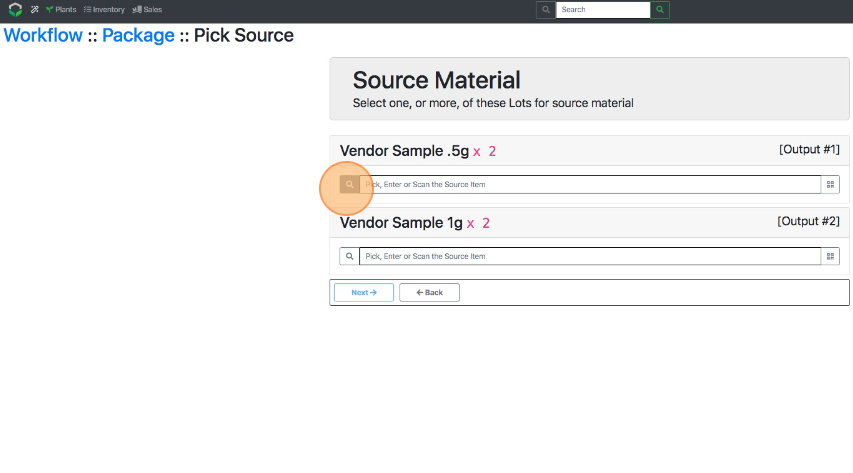
- Pick a source for each output Lot. There are three ways to select a Source Material Lot.
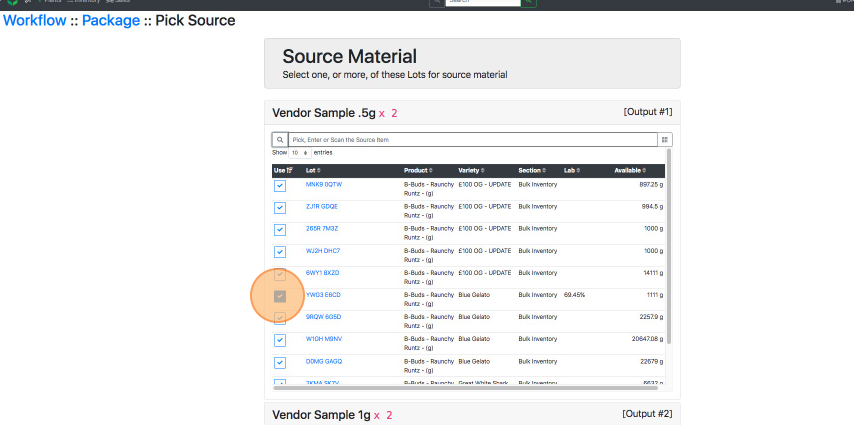
- Use the magnifying glass to expand the list of Lots, and select a lot using the blue Checked Box button.
- Type in the Lot ID manually and select it from the dropdown list.
- Select an entry box and scan the Barcode/QR Code of the Source Material Lot.
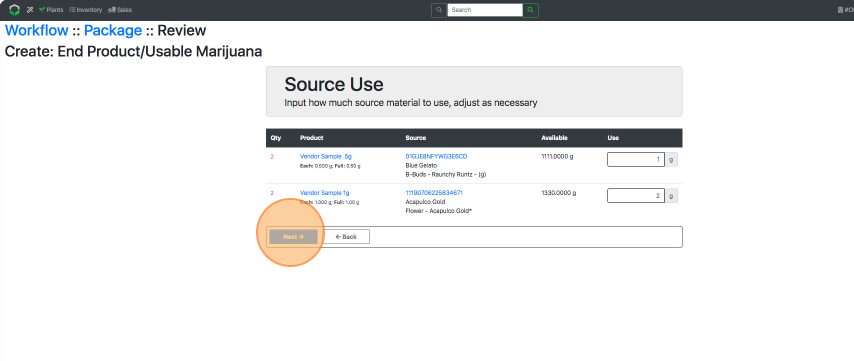
- Select Next.
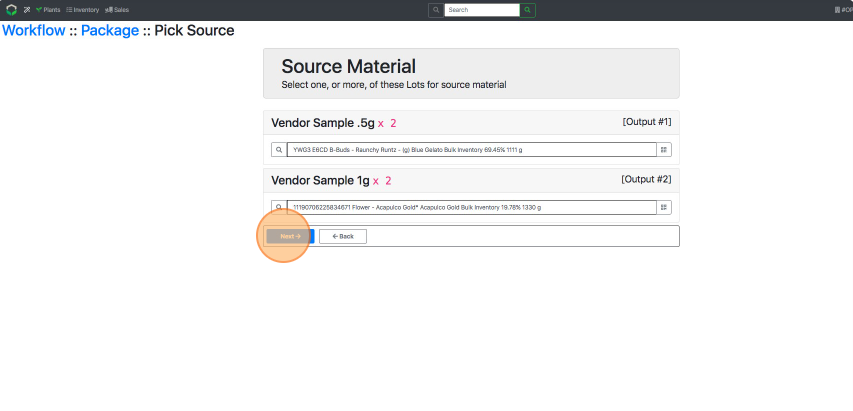
- Verify the weights being used. Adjust if any Lots are displayed in red, indicating insufficient input weight.
- Select Next.
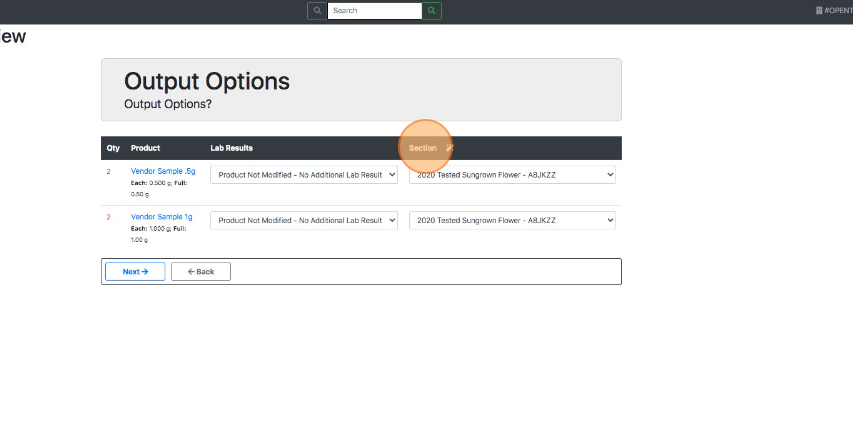
- Select the Lab Results status. (Lab Results status refers to marking the item as No Additional Test Result Needed or Additional Lab Result Needed.)
- Pick a Section.
- Pro Tip: Select the Section column heading to auto-select the same section for all rows.
- Pro Tip: Select the Section column heading to auto-select the same section for all rows.
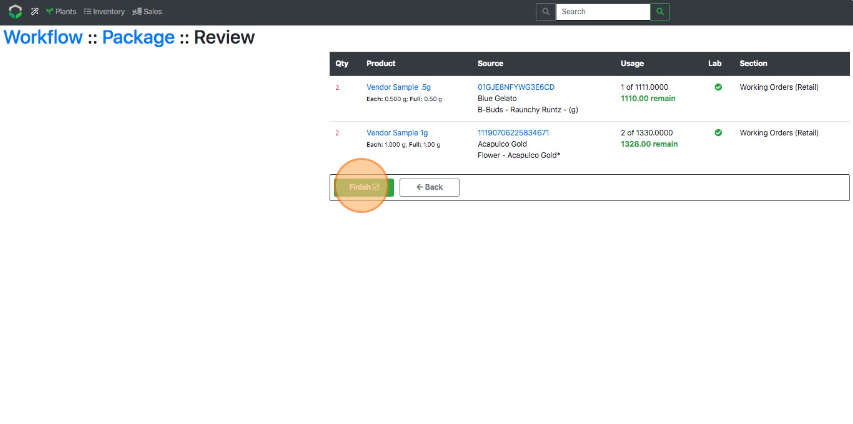
- Select Next.
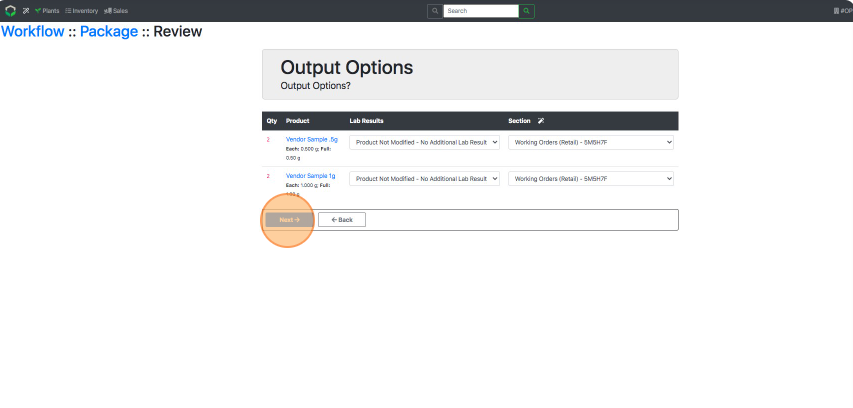
- Select Finish after reviewing the data to create the Vendor Samples.