Label Designer Overview
Discover the features of the OpenTHC built-in custom label designer.
https://drive.google.com/file/d/1ubDn2OxawRaBu0Ui_k_WZUMOaoVxl1Wp/view
- From the Dashboard select Labels.
- Alternative Method: Select Gears, then Settings, then Labels.\
- Alternative Method: Select Gears, then Settings, then Labels.\
- Select Design New Label or select View Formats button to each label size visually.
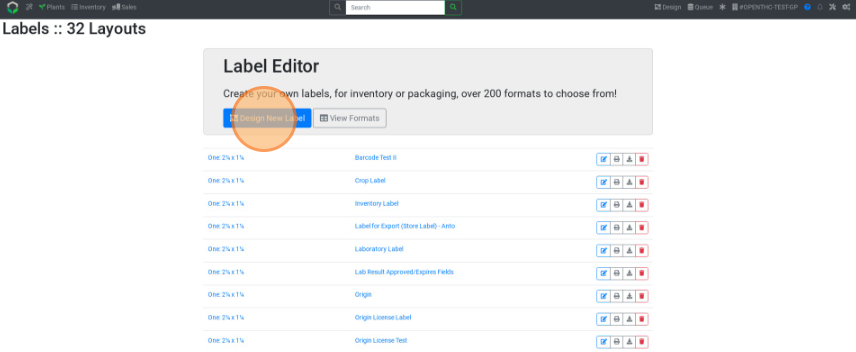
- Pick a Format (Label Size).
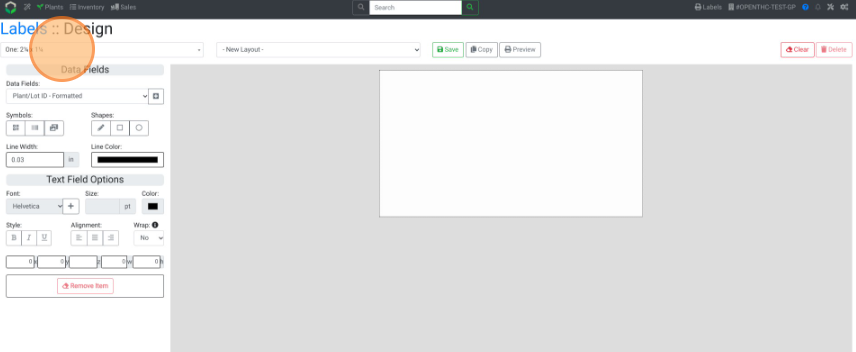
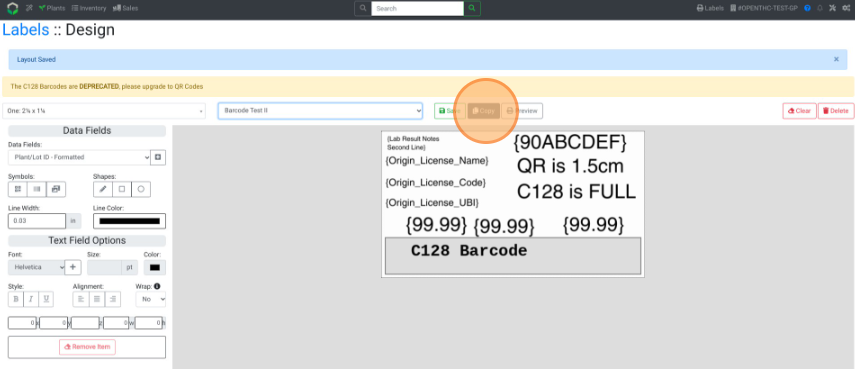
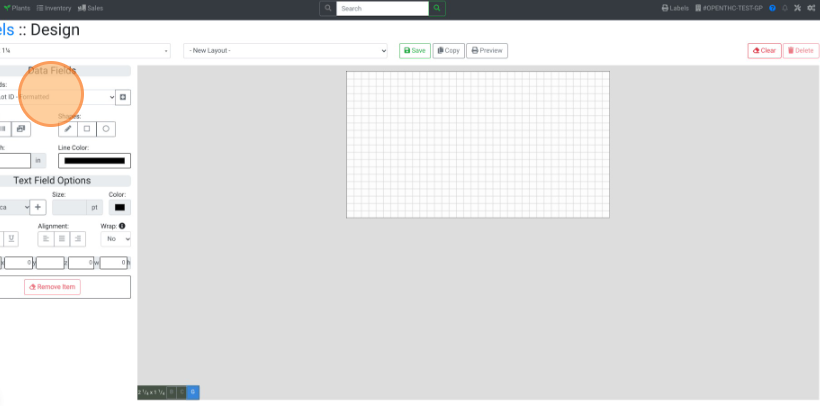
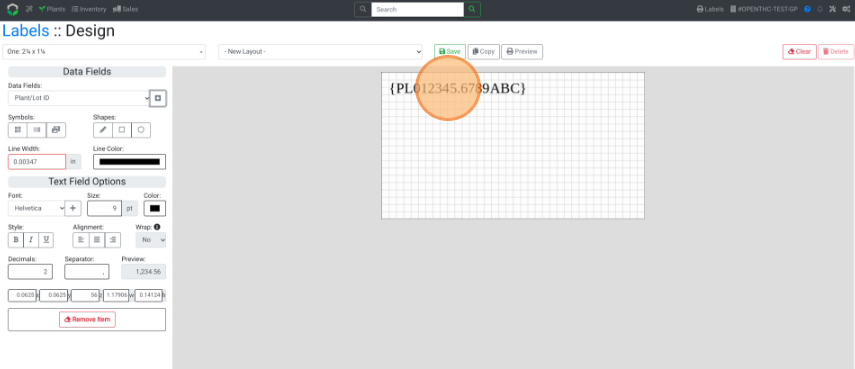
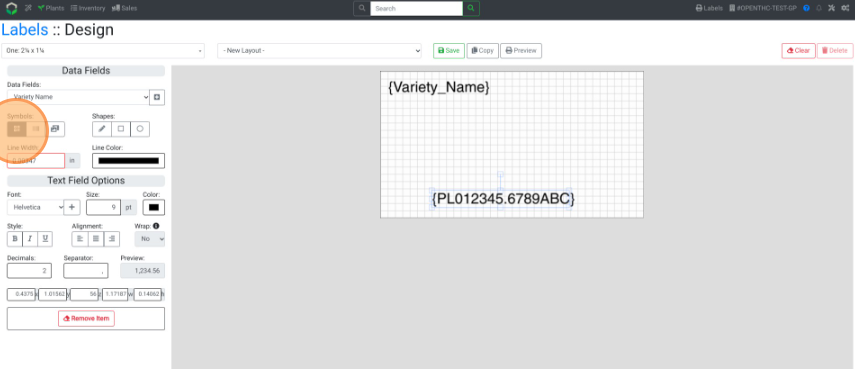
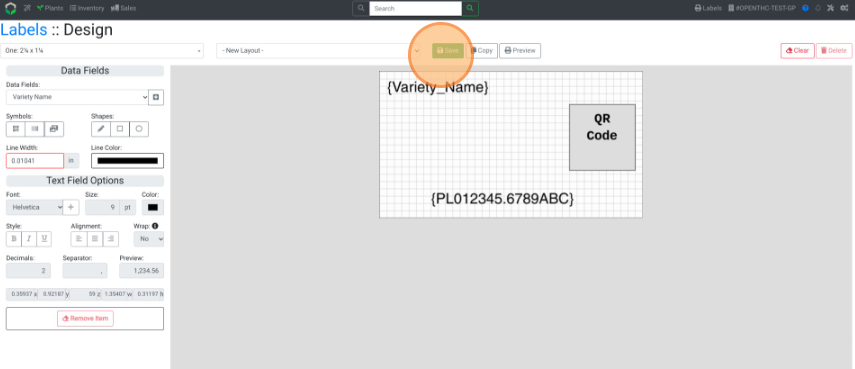
- Select from the Data Fields dropdown menu, then select + to add a field to the label.
- Pro-Tip: Use the B, C, and G buttons next to the label size display to:
- B: Toggle Print Bleed - for containing fields inside the label dimensions.
- C: Toggle Circular Mask - for creating circular labels.
- G: Toggle Alignment Grid - for alignment precision.
- Pro-Tip: Use the B, C, and G buttons next to the label size display to:
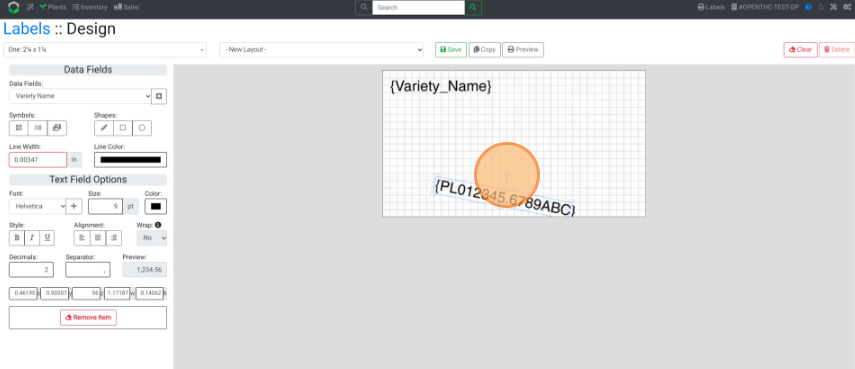
- Move the Data Field around by clicking and holding on the datafield with the cursor.
- Pro Tip: If you hover over the Data Field you can see a description in the bottom-left corner, above the label size display.
- Pro Tip: If you hover over the Data Field you can see a description in the bottom-left corner, above the label size display.
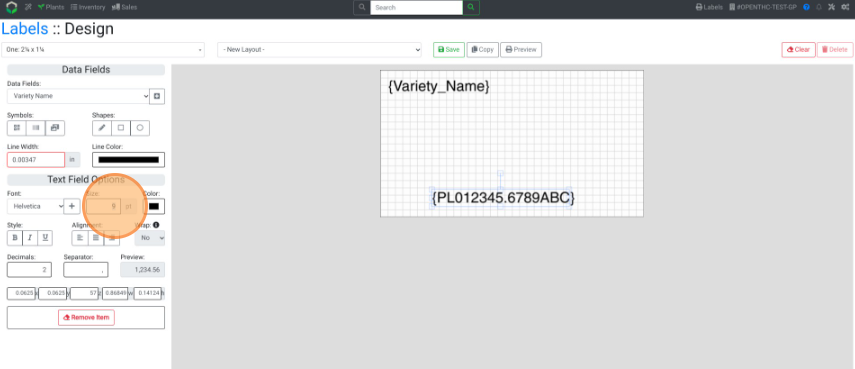
- Once selected, use Text Field Options to make changes to Font, Size, Color, and more.
- To rotate a field, pinch the box protruding from the middle of the field, then rotate.
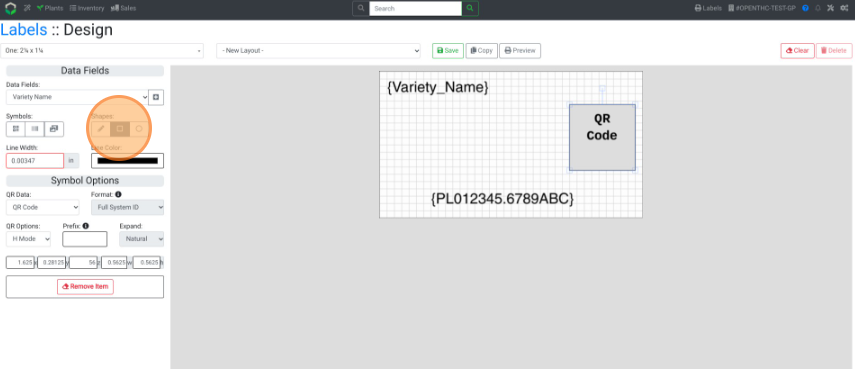
- Add Symbols such as a QR Code, Standard Barcode, and Images.
- Add Shapes and edit the Line Width and Line Color of shapes.
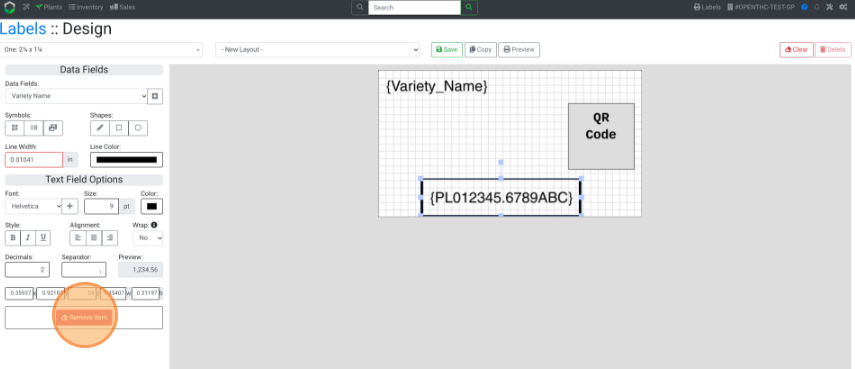
- To remove a Data Field select the field and select Remove Item.
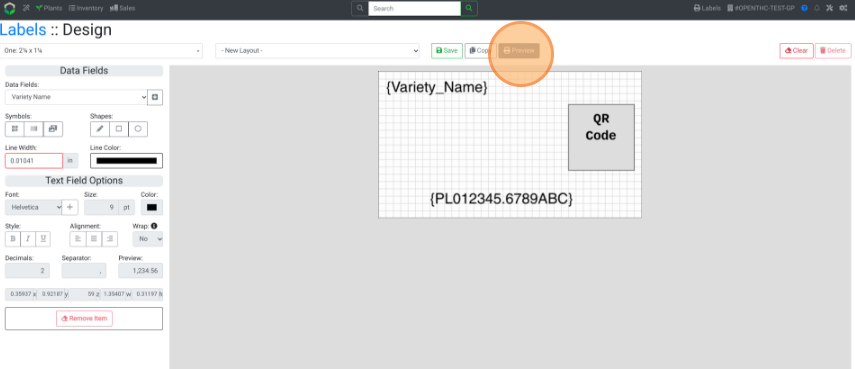
- To view an sample PDF of the label, select Preview.
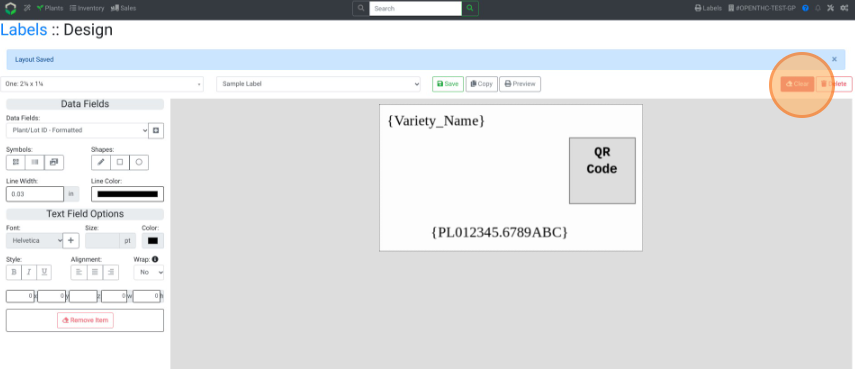
- To save the label, select Save, enter a name, then Save.
- To clear a labels contents, select Clear.
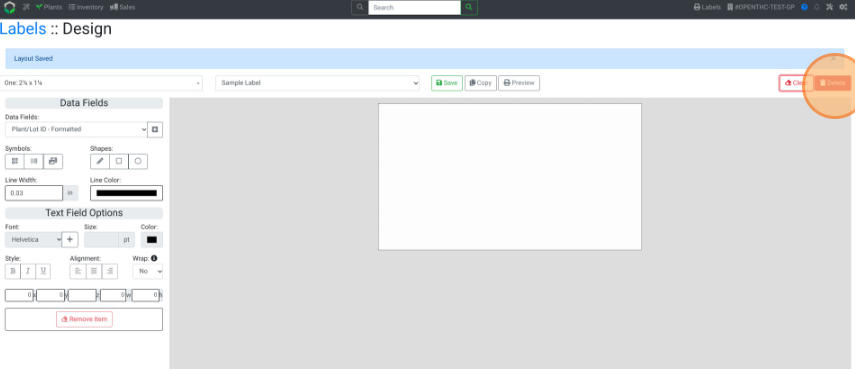
- To remove a saved label, select Delete.
- To copy a label, select Copy, enter new name, then Save.