Workflow Mode: Transfer Builder V2 - Outgoing B2B Sales
How to Manifest Materials using Transfer Builder V2
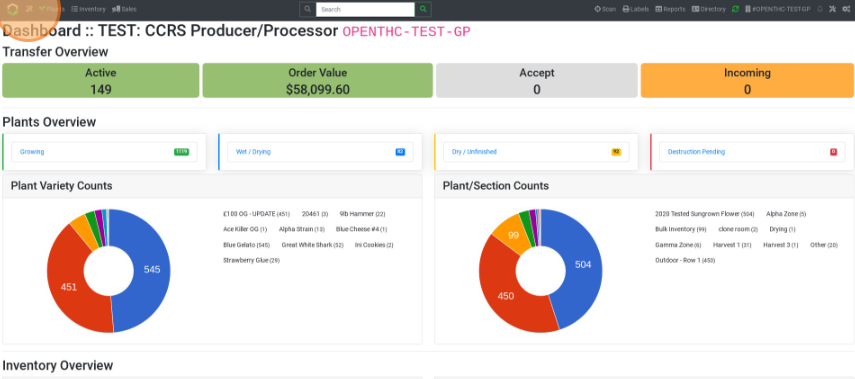
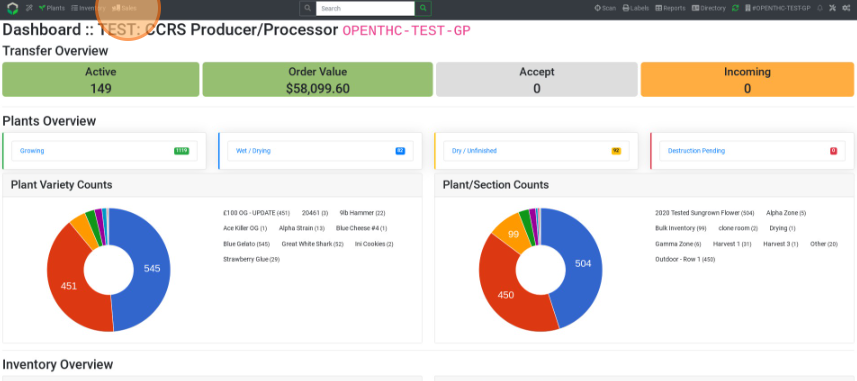
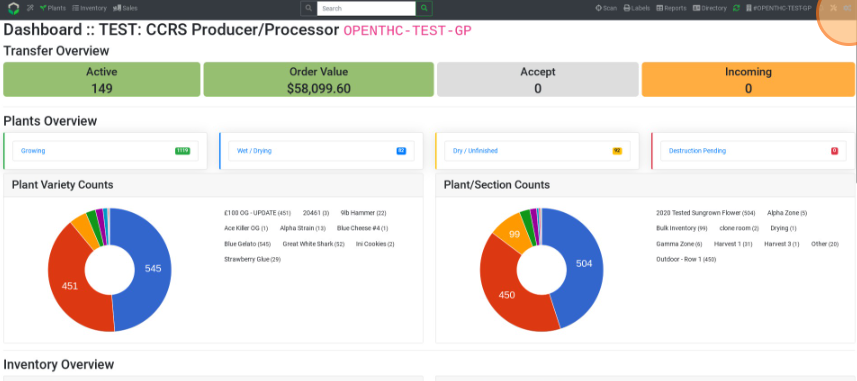
- From the Dashboard select Wand (Workflow) button.
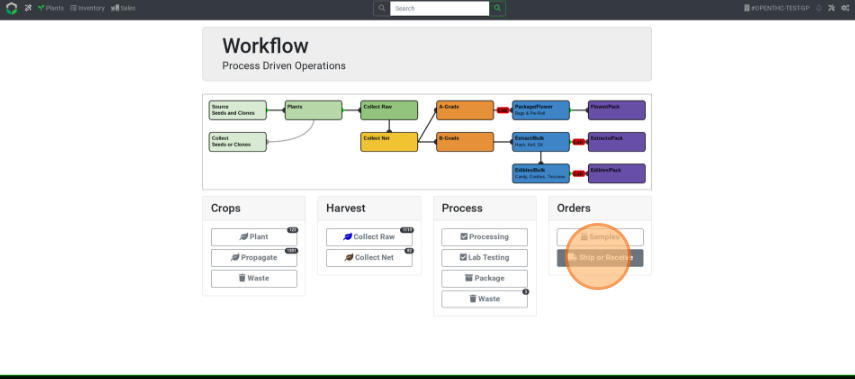
- Under Sales select Ship or Receive.
- Enter a License Name or Code in the Sold To License field and select it from the dropdown.
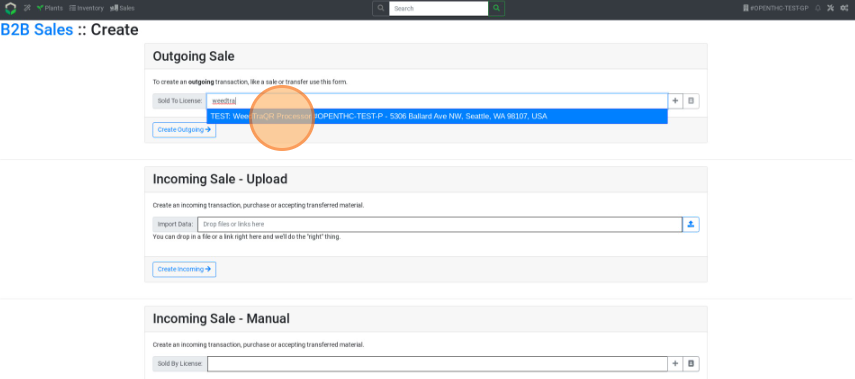
- Select Create Outgoing.

- Filter by Lots or Products by selecting Select Lots or Select Products.
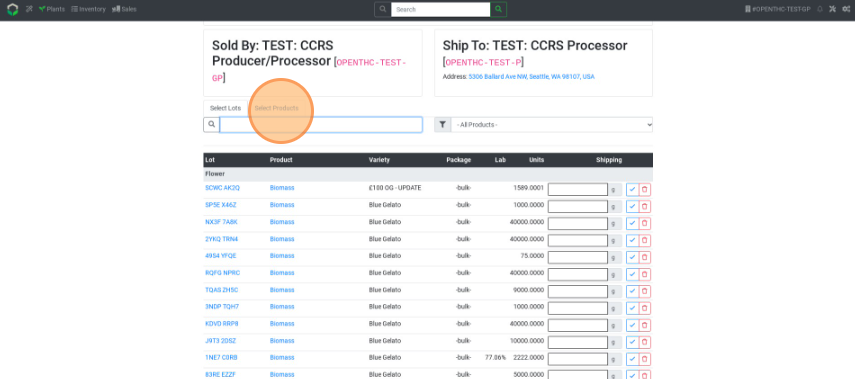
- Enter a quantity to be shipped from each Lot, or select the Blue Checkbox to select the max weight/count.
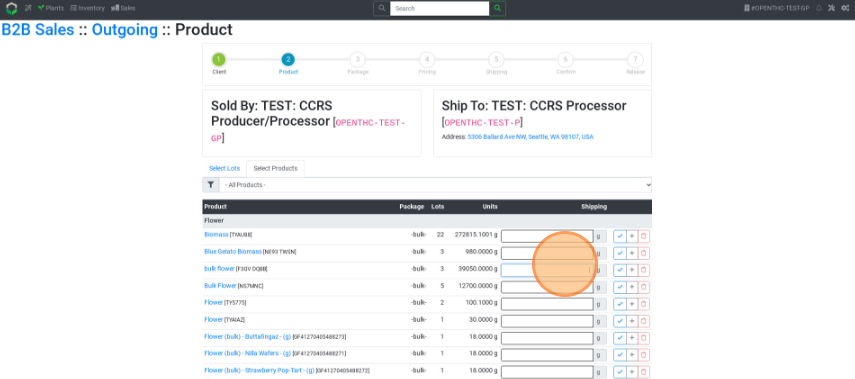
- Select Next.

- Select a modifier if this is a Lab or Vendor sample, then select Next.

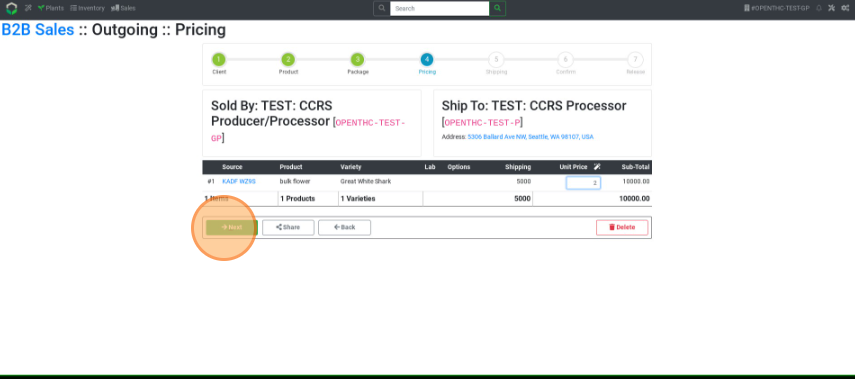
- Enter a Unit Price.
- Select Unit Price to auto-fill the column with same price. Select Next.
- Select Unit Price to auto-fill the column with same price. Select Next.
- Select the Depart and Arrive times, Delivery Method, Driver, and Vehicle.
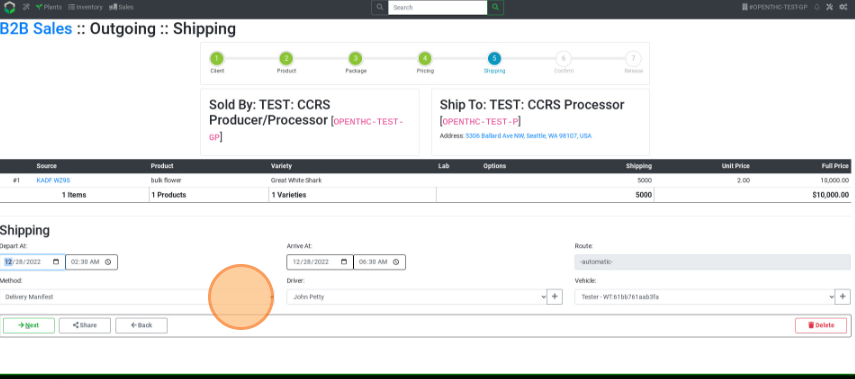
- Select Next.

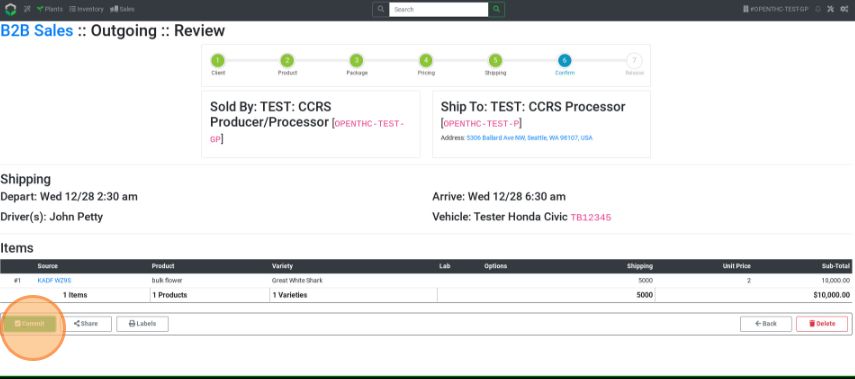
- Review all details and select Commit to issue the Sales ID and generate the Manifest.
Alternative Method 1
- From the Dashboard select Sales button.
- Select Truck icon in the upper-right corner.
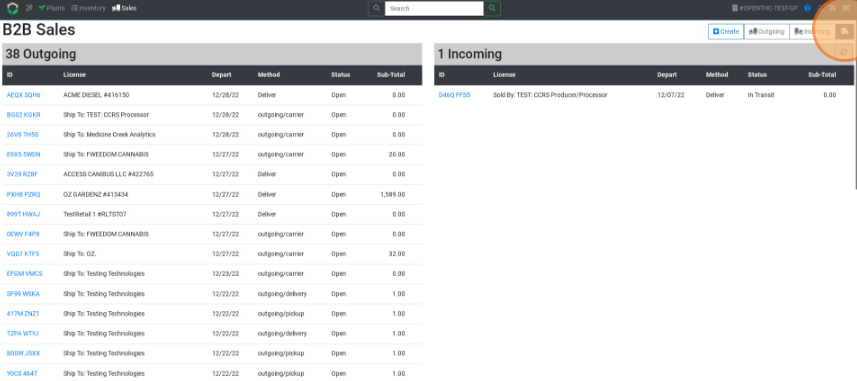
- Select Create.

- Follow steps 3-12 from above.
Alternative Method 2
Use this method when selecting directly from your Inventory to add to a V2 Transfer Builder Manifest.
- First enable the V2 Transfer Builder as your default manifest option.
- Select Gears.
- Select Settings.

- Select Manifest.

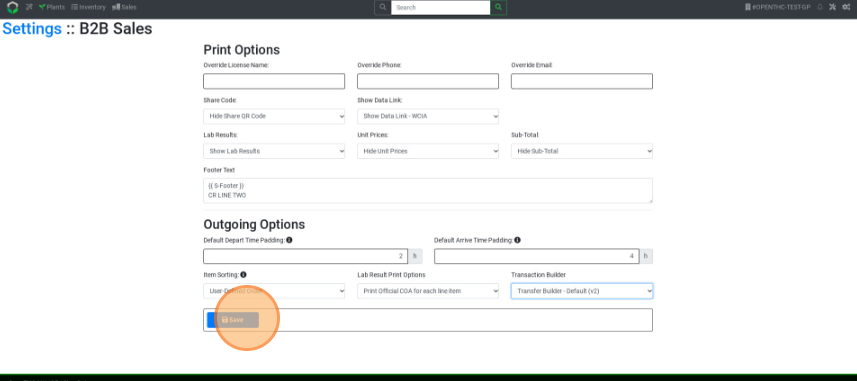
- Under Transaction Builder select Transaction Builder - Default (V2).
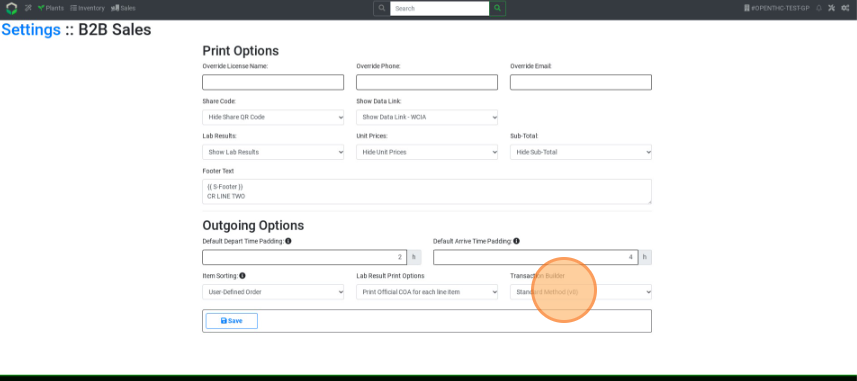
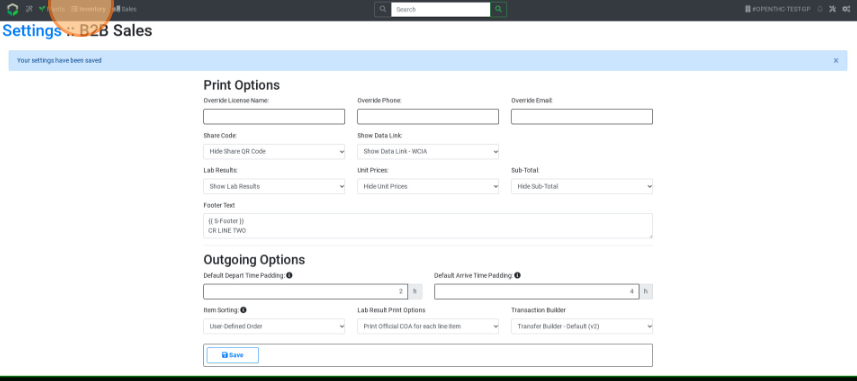
- Select Save.
- Select Gears.
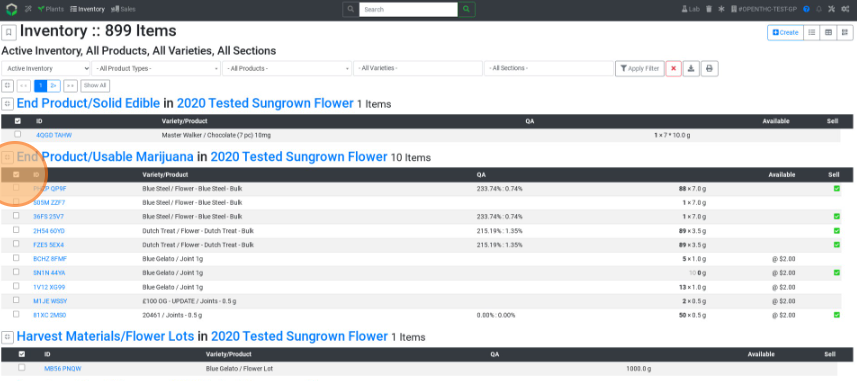
- Select Inventory.
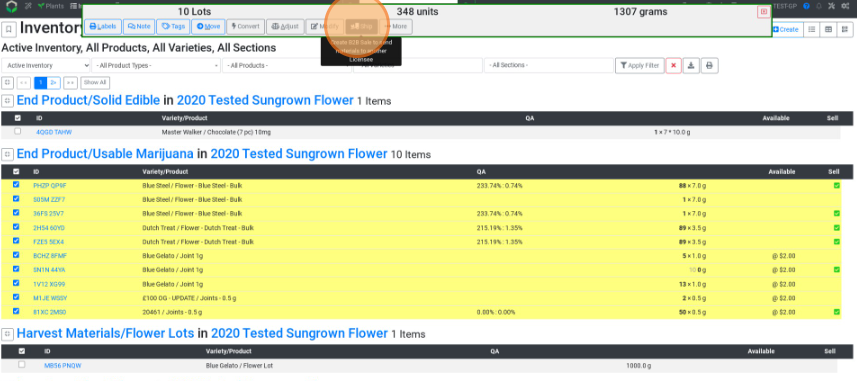
- Select some items to be shipped.
- Select Ship.
- Follow steps 7-12 from above.