Transfer Lab Samples
How to Transfer Lab Samples
Method 1: Conventional Method
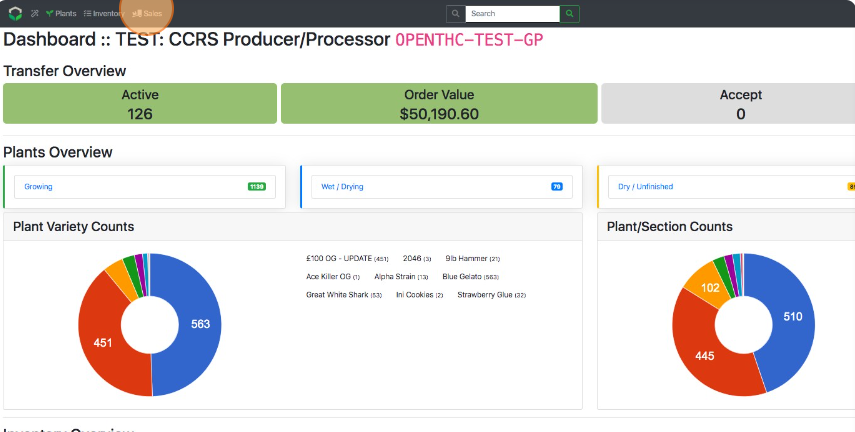
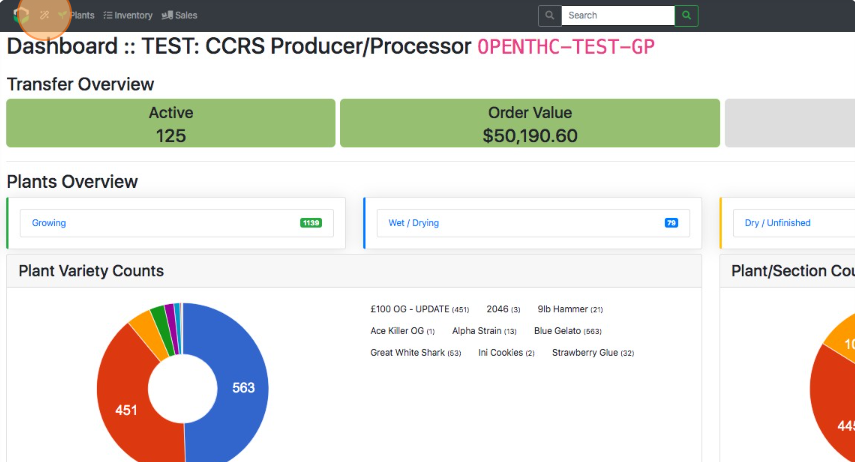
- From the Dashboard select Sales.
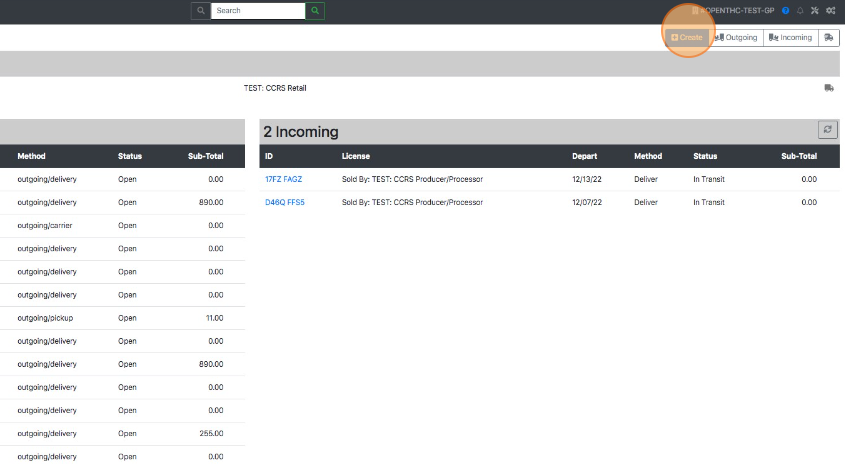
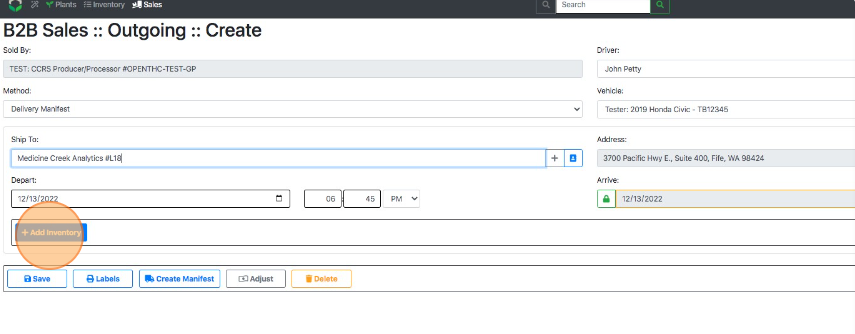
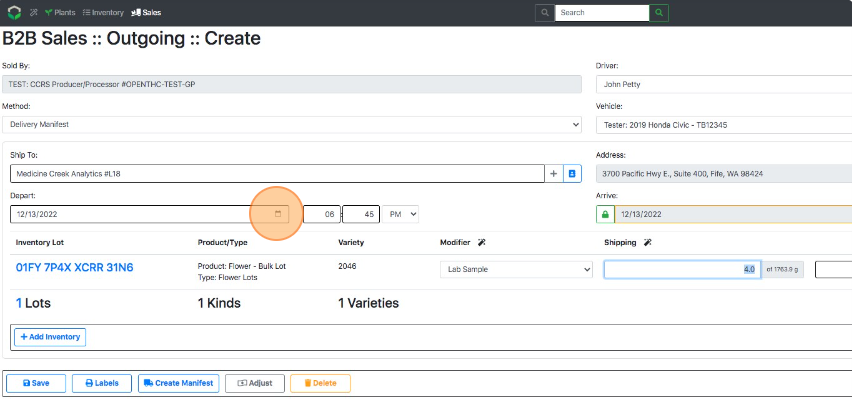
- Select Create to start a new B2B Sale.
- Type in a Name, License or Address for the receiving company.
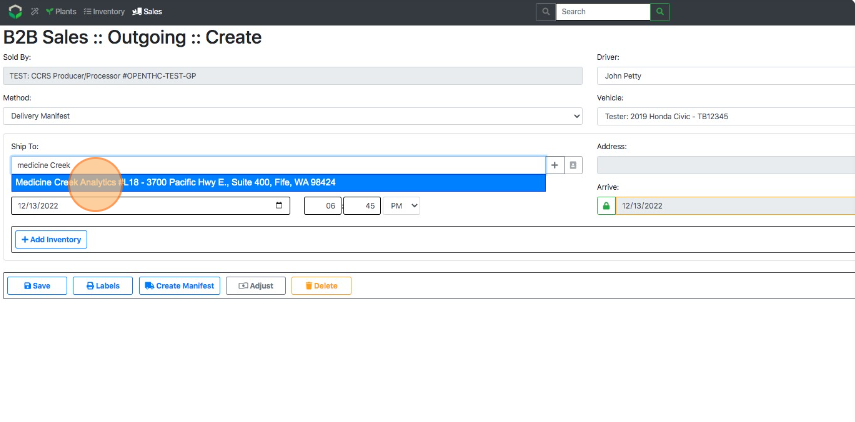
- Select + Add Inventory.
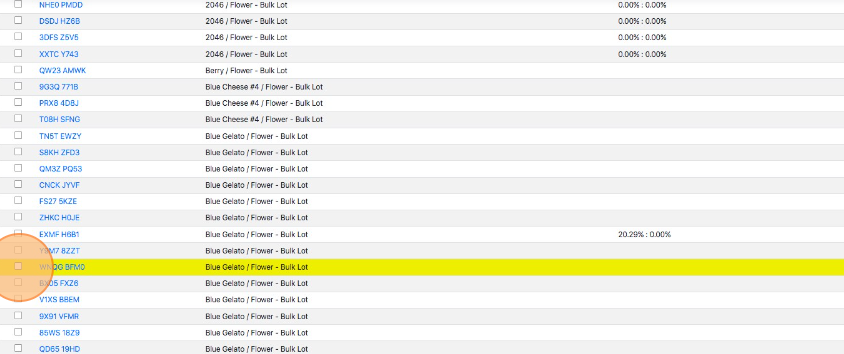
- Select a Lot ID or checkbox each Lot that needs to go on the shipment.
- Use filters such as Product, Variety, and Section to narrow down the selection.
- Use filters such as Product, Variety, and Section to narrow down the selection.
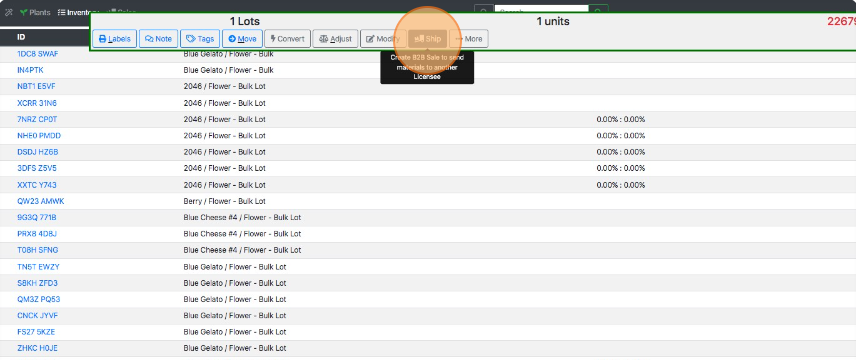
- Select Ship.
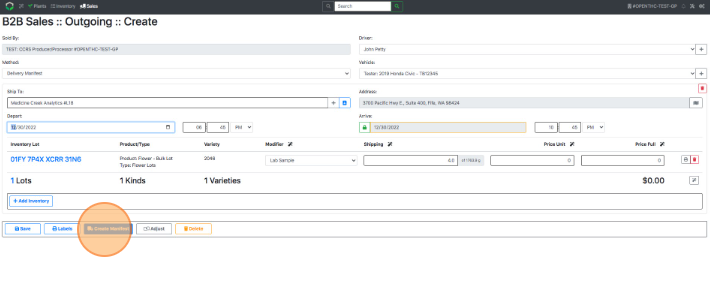
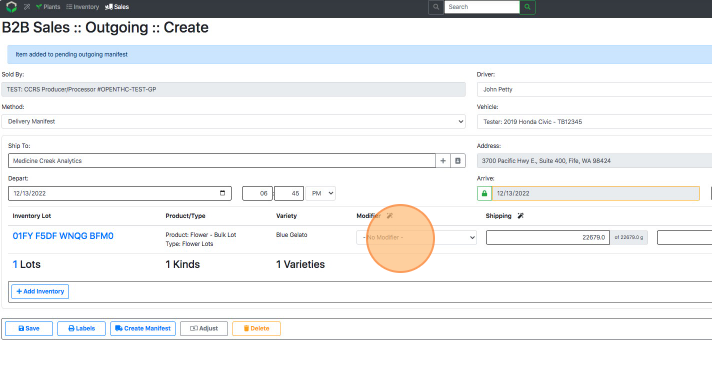
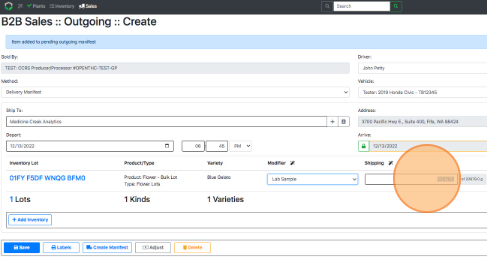
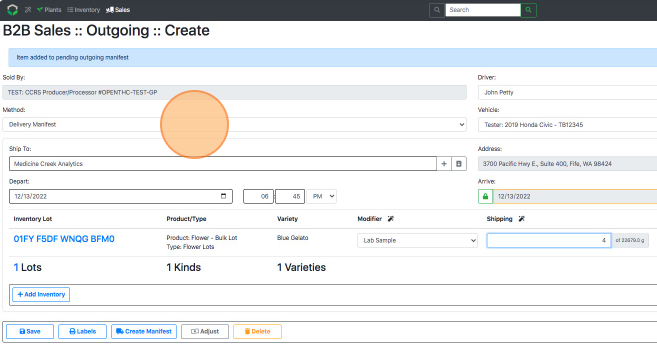
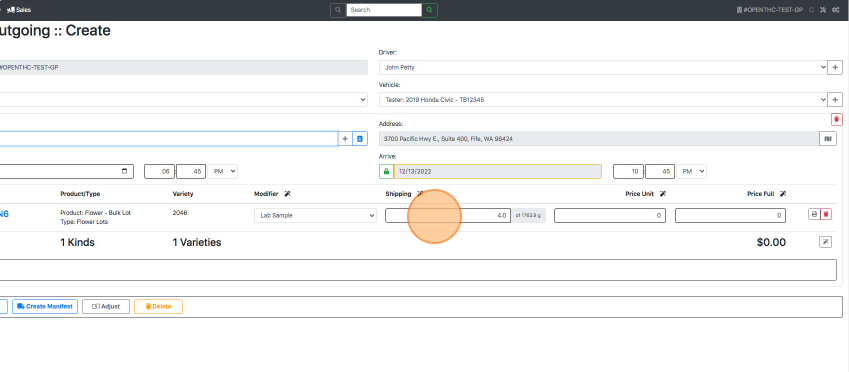
- Pick Lab Sample in the Modifier column for each row.
- Pro Tip: Select the Modifier Magic Wand button at the top of the column to auto-fill one selection.
- Pro Tip: Select the Modifier Magic Wand button at the top of the column to auto-fill one selection.
- Enter a quantity in the Shipping column for each row.
- Pro Tip: Select the Shipping Magic Wand button at the top of the column to auto-fill one selection.
- Pro Tip: Select the Shipping Magic Wand button at the top of the column to auto-fill one selection.
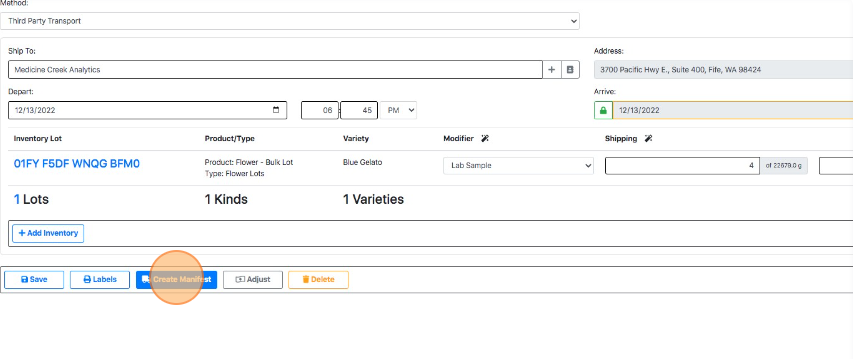
- Fill out the Driver, Vehicle, Depart/Arrive Time and review all details.
- Select Create Manifest to finalize the shipment.
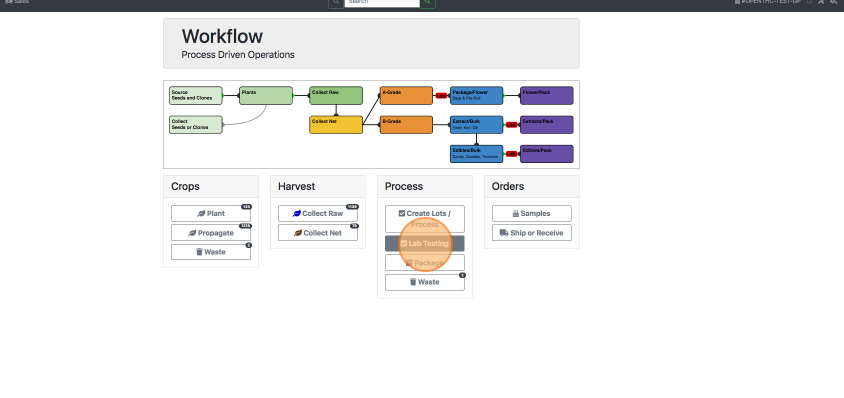
Method 2: Workflow Method
- From the Dashboard select the Workflow (Magic Wand) button.
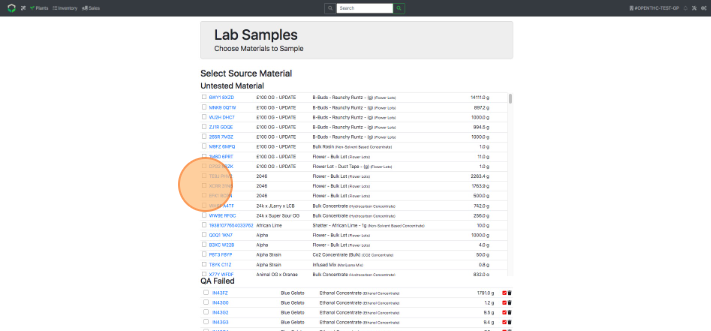
- Select Lab Testing.
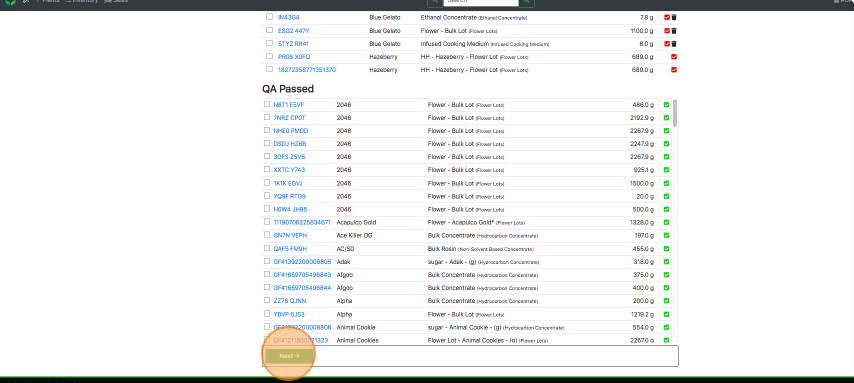
- Select the checkbox for each Lot to be tested.
- Select Next.
- Enter a License Name or Number in the Lab lookup field.
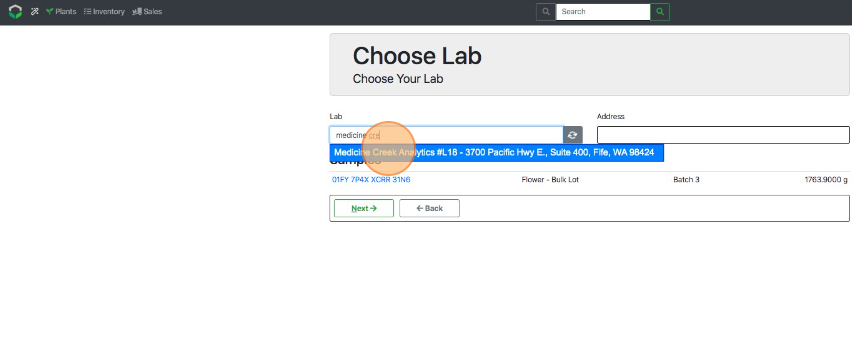
- Select Next.

- Change the Shipping quantity if necessary.
- Fill out the Driver, Vehicle, Depart/Arrive Time and review all details.
- Select Create Manifest to finalize the shipment.