Create Incoming Transfers via Upload
How to Upload an incoming JSON.
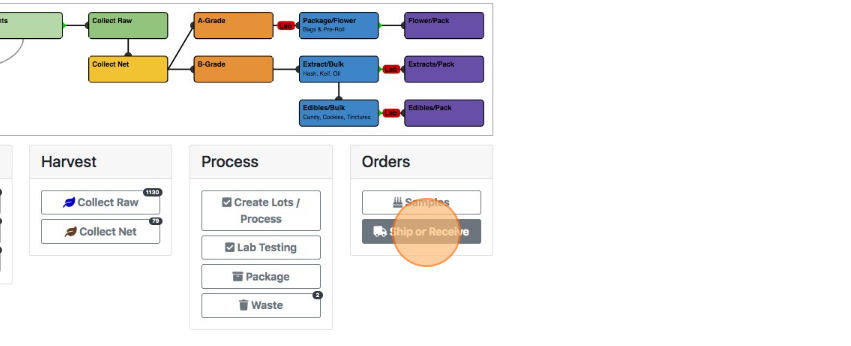
- From your Dashboard go to Workflow (Magic Wand).
- Select Ship / Receive.
- Choose the middle on the page (Incoming Sale / Upload).
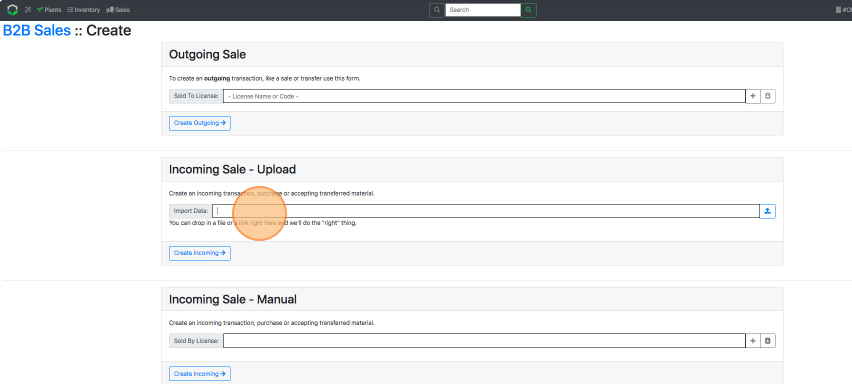
- Next to Data Import paste, drag & drop a link, or click the Up Arrow to upload a file version of the JSON.

- Select Create Incoming.
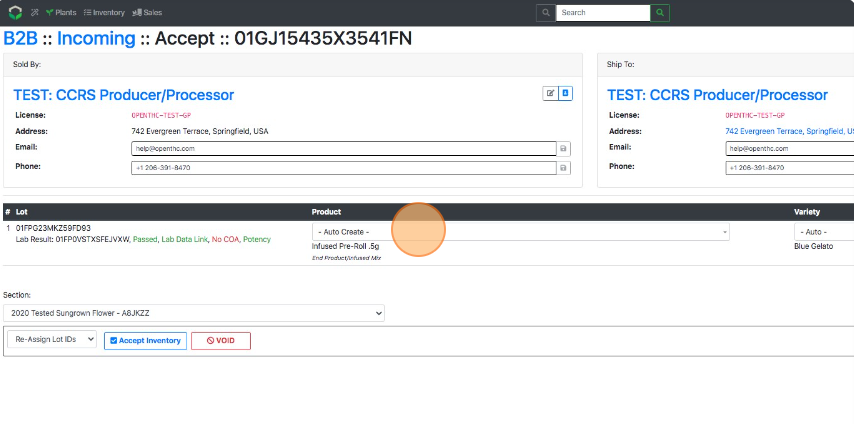
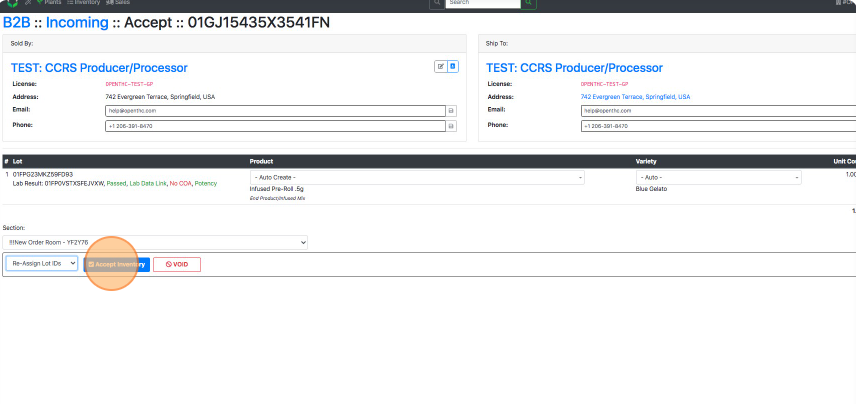
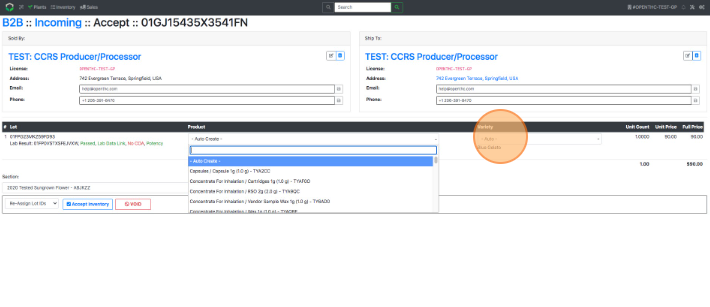
- Leave the Product column set to Auto-Create, or choose a different product in the dropdown.
- Leave the Variety column set to Auto, or choose a different variety in the dropdown.
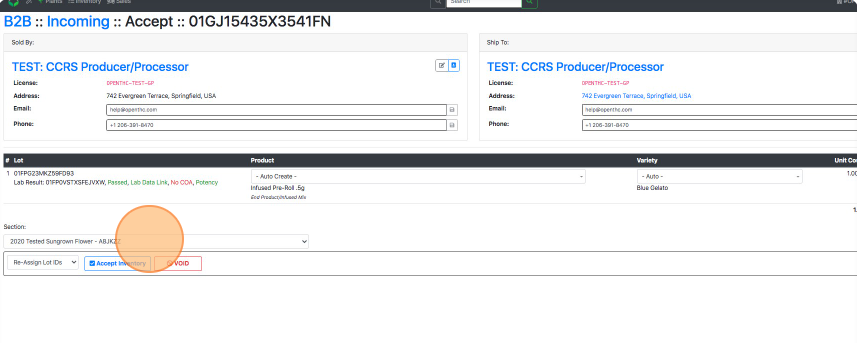
- Select a Section for the accepted inventory to be moved to.
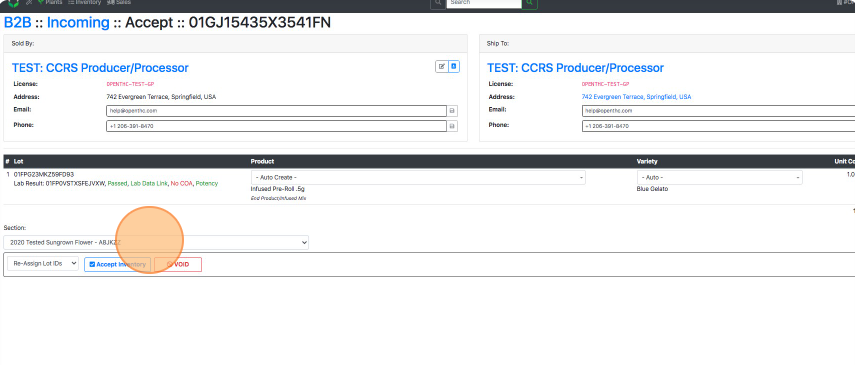
- Select Re-Assign Lot IDs to change all Incoming Lot IDs, or Use Vendor Lot IDs to keep the existing ones.
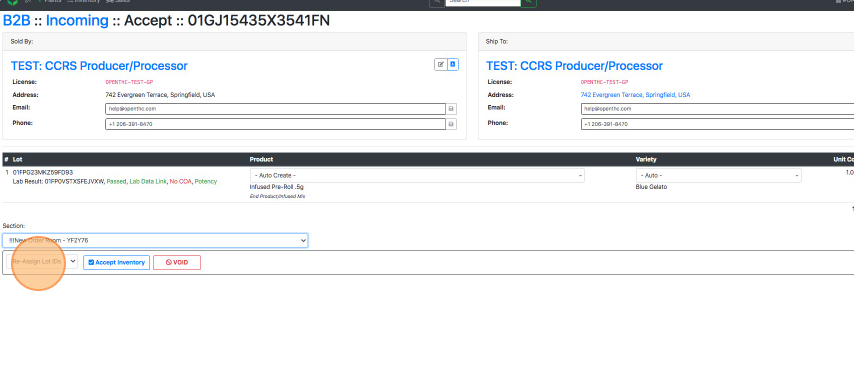
- Select Accept Inventory to accept and create the Inventory Lots in your system.